


Case Study Information
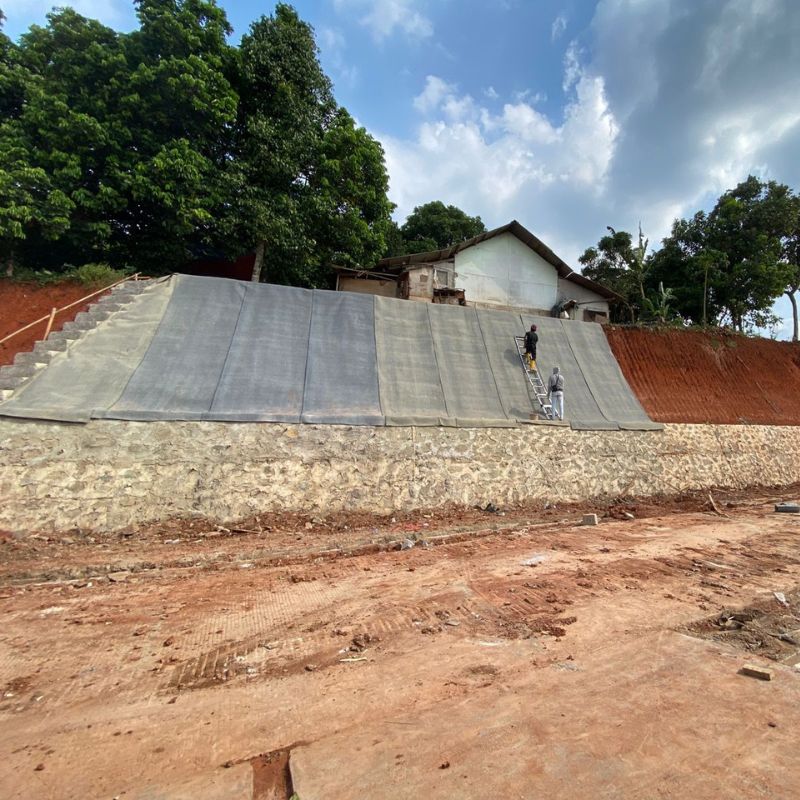
Project Type: Slope Protection in Residential Areas (Slope Protection)
Project Type (Other): Housing Developer
Project Start Date: July 2025
Project Objective:
The primary objective of this project is to protect slopes from surface landslides in residential areas.
Project Location: Bogor Regency, West Java.
Number of Installers: 6-8 people
Amount of Concrete Canvas Used: 855 m²
Roll Format: Bulk Roll
Type/Thickness: CCX-M
Installation Method (Layup): Vertical
Installation Process
Equipment used
- Webbing Sling 3 meters x 2 tons
- Excavator
- Cutter/utility knife
- Hammer
- J-pin 40cm
- 30 mm stainless steel screws
Alternatives and Reasons for Choosing Concrete Canvas
The developer considered using shotcrete when selecting materials. With an area of approximately 855m2 being constructed in stages, the cost of using shotcrete would have been higher. Due to these cost considerations, the developer chose the more economical Concrete Canvas for this project.
Environmental Conditions
This project was carried out in a residential area still under construction. During the rainy season, installation was halted several times to ensure worker safety.
Land Preparation
- Land clearing of vegetation and tree roots
- Slope profile formation
- Anchor trench excavation at the top of the slope
Installation, Bonding, and Sealing Methods
CCX-M Concrete Canvas is installed vertically to cover the slope profile. To facilitate installation, this project employed a pre-cut method. The concrete canvas was rolled out with the aid of an excavator. At the top of the slope, pegs/anchors were first installed to hold the canvas while the excavator unrolled a small roll to cover the slope wall. Afterward, another small roll was rolled out, overlapping each other.
This project employed screw connections, with 30mm screws. The screws were installed at the overlapping points, with a maximum spacing of 10cm. Because the slope height in this project was greater than 3m, 40cm J-pins were installed every 3m.
Hydration Method
The hydration process is carried out using a hose connected to a clean water tanker truck, ensuring that all parts of the Concrete Canvas are well hydrated even though they were exposed to rain during the installation process.
Installation Duration
This project was implemented in two phases. In the first phase, the Concrete Canvas was completed in three days, with an installation productivity of approximately 126 m² of Concrete Canvas per day. The second phase was carried out again with an installation productivity of approximately 158 m², completed in three days. This duration included land preparation such as digging anchor trenches and the hydration process.
Project Success
The project was deemed successful, as evidenced by repeat purchases of the protection project, leading to a two-phase project. The client was satisfied with the use of Concrete Canvas due to its lower cost and relatively easy and quick installation.
Measurable Success Indicators
Project cost savings from cheaper material prices compared to other methods.